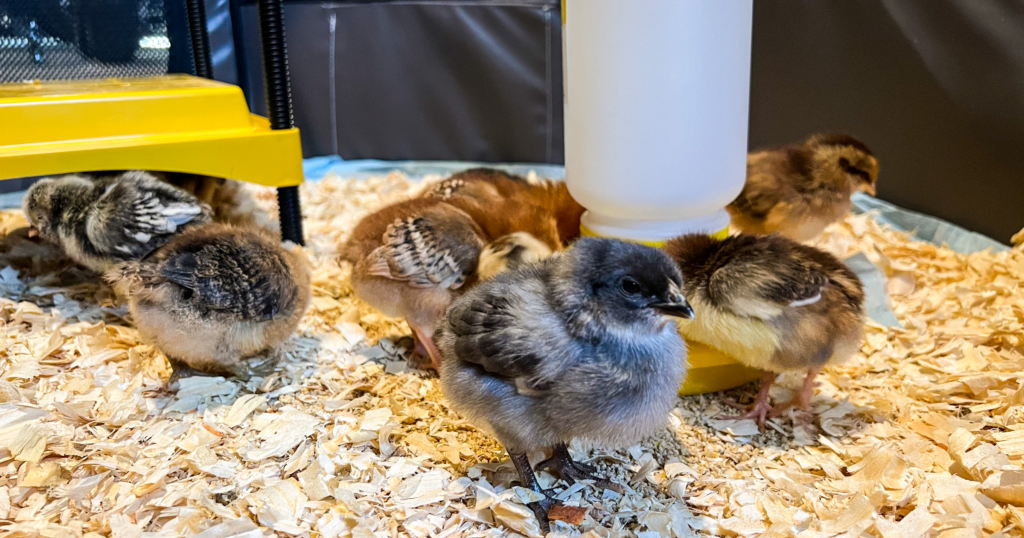
Let the adventures of caring for baby chicks begin.
We read, researched, watched YouTube videos, and talked to friends and family who’ve pecked the ground before us to prepare for our baby chicks.
There’s no turning back now as we have twelve baby chicks living their best life in our garage.
Choosing the Right Breed
We ordered our baby chicks from our local feed store back in February.
I selected breeds that are winter/cold hardy. From there, I narrowed the criteria down to chicken breeds that are excellent egg layers, friendly/pet-like, suitable for beginners, and tend to be less broody.
Setting Up the Brooder
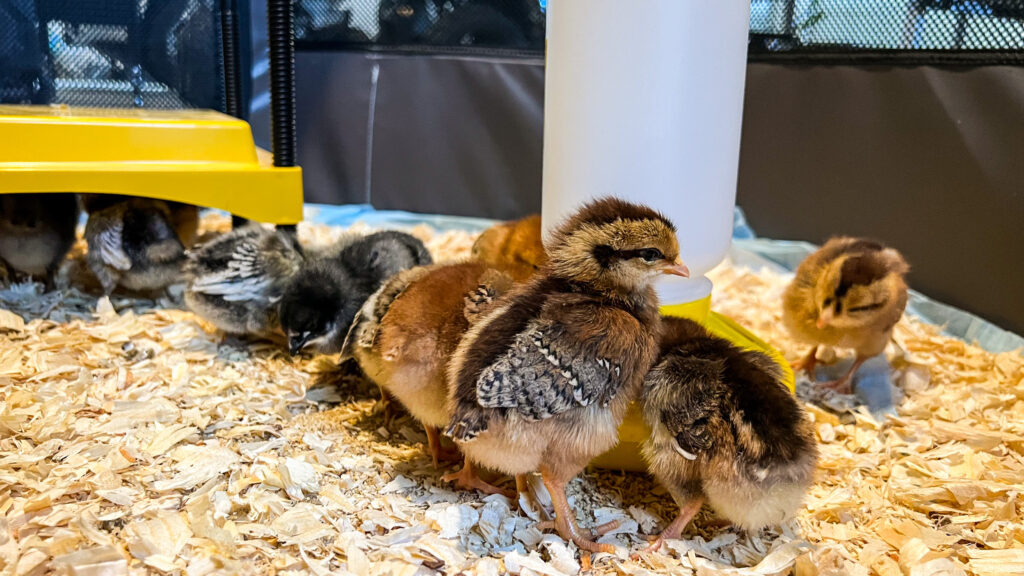
I ordered a brooder, waterer/feeder, roosting bar, warming plate, and pine shavings online.
The day before we picked up our baby chicks, Asher and I set up the brooder in our (heated) garage.
Many people recommend to line the floor of the brooder with paper towels for a day or two or until they all the chicks are eating and drinking.
Instead, I used puppy potty pads since we had them on hand. And, I figured it would make for easy clean up (it did).
After keeping an eye on and caring for the baby chicks for 24 hours, I cleaned out their brooder. Then, put down fresh potty pads and then pine shavings.
The pine shavings not only smell good but are super absorbent. When chicks are really little you only need to clean out the shavings every few days.
As the chicks grow, cleaning the brooder will become a daily chore until they are moved to their coop.
It’s as simple as scooping out the pine shavings and then putting new ones down. And replacing the potty pads as necessary. The soiled shavings make for great compost.
Feeding & Watering
Baby chicks are susceptible to stress and disease until their immune system develops and matures.
Raw, unpasteurized apple cider vinegar has been found in research to reduce the risk of chicks becoming infected with harmful bacteria. It also strengthens their immune system.
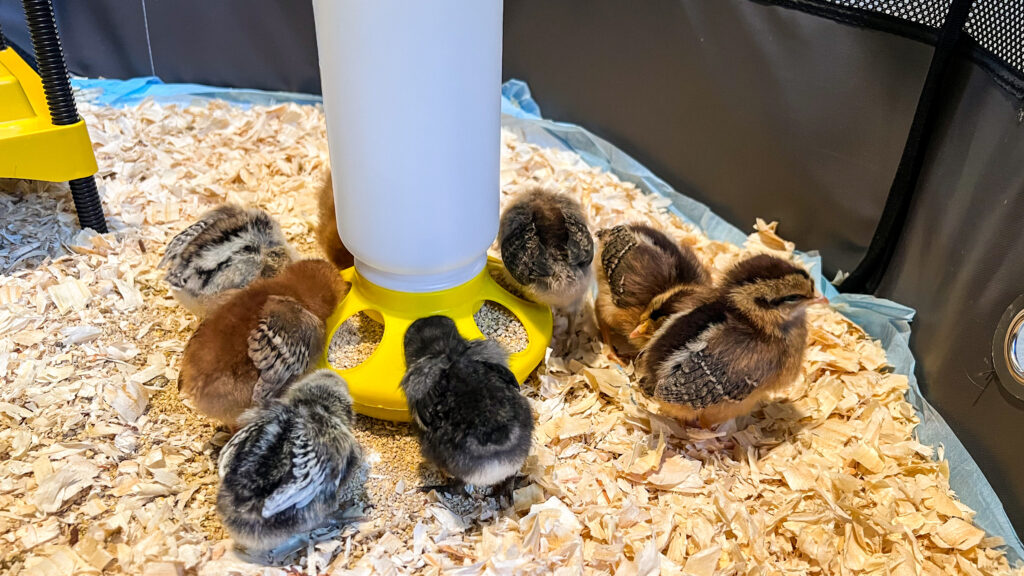
I added one tablespoon of apple cider vinegar to a one gallon jug of water for our chicks. Then, filled their waterer. All the chicks are happily drinking from it.
We are feeding our chicks an organic and non-GMO chick feed from a local retailer our son works for (bonus, we get a discount).
Temperature Control
Chicks cannot regulate their own temperature until they are about 12 weeks old and have feathers. Until then, they need a heat source to keep them warm.
While many people raising chicks use a heat lamp, there are pros and cons to this. Instead of a heat lamp, we are using a heat plate to keep our baby chicks warm.
The plate provides a consistent temperature and can be raised as the chicks grow.
Since, there is no light emitted from the warming plate (unlike a heat lamp) the chicks will adapt to a regular wake/sleep cycle. Which, is also important for a healthy immune system.
Socialization
Adult hens are more pet-like and friendly if they are handled frequently as chicks. For this reason, we are making sure to gently handle each chick several times a day.
Some of the chicks are already interacting with us as soon as we put our hand in the brooder.
Chicks aren’t big enough for treats until they are around six weeks old. However, you can add water to their chick feed and then have them eat it out of your hand as a way to socialize.
Butt Checks
In all the research I did on these first few days of caring for baby chicks, I only came across a few mentions of doing regular butt checks.
Imagine my surprise when I noticed that four out of our twelve chicks had what is called pasty butt.
Chicks have one hole that they pee, poop, and lay eggs out of. If their poop hardens and the hole gets clogged, things can go south very quickly.
Pasty butt is quite common in baby chicks the first couple weeks as they adapt to their brooder, feed, and the stress of life outside of their shell.
To remove the hardened poop from the vent, I bring the chick in the house and run warm water over it to soften and gently pick off with my hands.
Then I dry the chick off and put it back in the brooder under the warming plate.
Chick Names
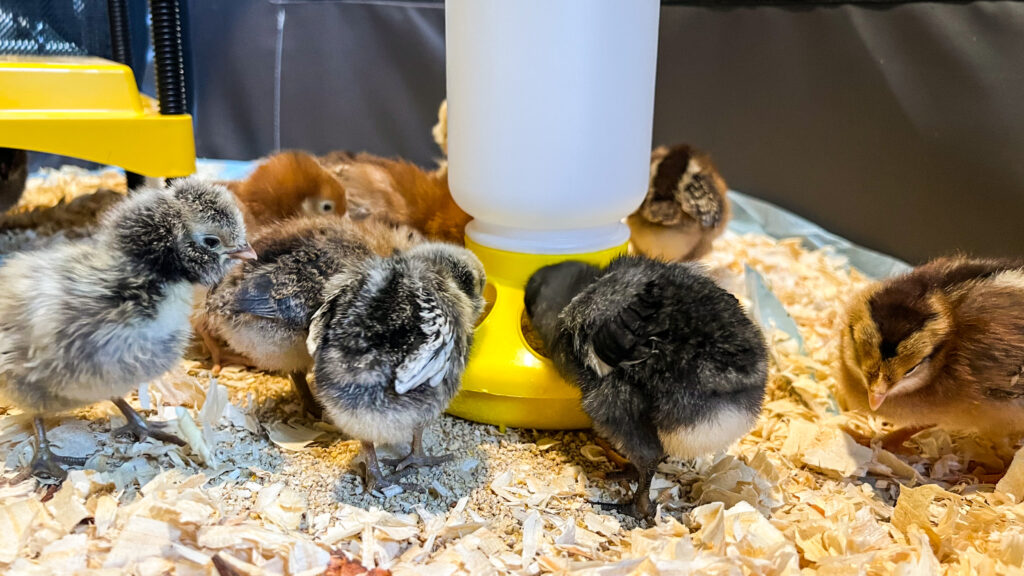
Thus far, I can tell all of the pairs of chicks apart from one another except for the Speckled Sussex and Olive Egger. As they grow and their personalities become more distinct I’m sure I’ll know whose who.
We had a lot of fun choosing names for our girls. Here they are in the order they were put in the box in the video below:
- Silver Laced Polish = Oreo & Cookie
- Rhode Island Red = Little Orphan Annie & Miss Hannigan
- Ameraucauna = Betsy Ross & Martha Washington
- Olive Egger = Pickles & Relish
- Sapphire Gem = Princess LayYa & Princess Peeper
- Speckled Sussex = Nugget & Nacho
“But ask the animals, and they will teach you, or the birds in the sky, and they will tell you; or speak to the earth, and it will teach you, or let the fish in the sea inform you. Which of all these does not know that the hand of the Lord has done this?” ~Job 12:7-9
Disclosure. Some of the links we share are affiliate links. When you click on the link and make a purchase, you won’t pay more. However, we earn a small commission. Thank you.


Leave a Reply